 English
 عربى
عربى 中文简体
中文简体News
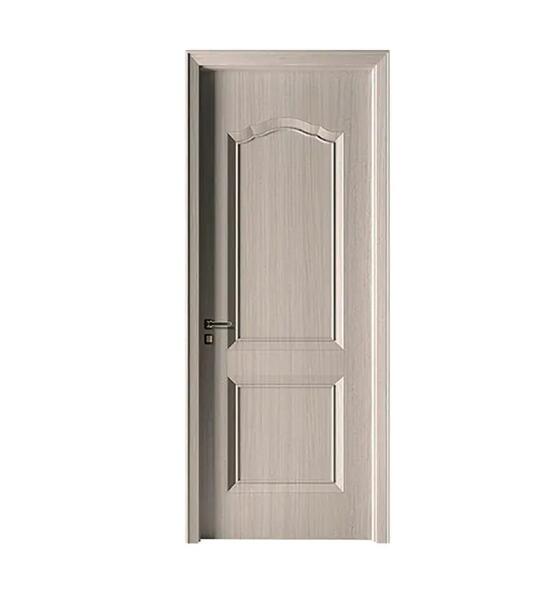
How Is WPC Flush Door Installed Correctly?
The installation process of the WPC Flush Door :
1. Install the trim panel connector and fix the door frame connector to the door pocket. Each horizontal rail is equipped with 2 connectors; vertical rails are matched according to the height of the hole: when the height is below 2400mm (inclusive), each vertical rail is equipped with 4 pieces; when the vertical rail is above 2400mm, each vertical rail is equipped with 5 pieces. Note: The installation direction of the vertical rail of the main door cover with the bolt hole should be fixed on the side at a smaller distance from the bolt hole.
2. Assemble the main door cover as the main door cover plate and the auxiliary door cover plate as the auxiliary door cover plate. Fix it with gun nails first, and then fix it with 4*40 self-tapping screws. When installing, pay attention to the vertical direction of the door cover - corresponding to the position and direction of the bolt hole.
3. Install the entry hole of the door cover plate, and put the completed door cover frame into the door opening.
(1) Use a spirit level to adjust whether the door pocket frame is uneven, the horizontal plate of the door pocket frame should be horizontal, and the vertical plate should be vertical and parallel;
(2) Insert wooden strips between the door frame and the wall, no less than 4 wooden strips on each vertical side, and no less than 2 wooden strips on the top horizontal frame, so as to better fix the door frame;
(3) Apply styrofoam between the door frame and the wall to reinforce the door frame. Note that the curing time of the styrofoam is about 20 minutes.
If you need to use gun nails during the door cover installation process, they should be driven in places that cannot be seen after the installation is completed, such as the splicing of the main/auxiliary door cover panels (the position of the upper cover door baffle), the hinge installation position (pay attention to avoid self-tapping holes) or above/below the line of sight.
4. Install the door baffle according to the size of the order, install the muffler, and then place the door baffle at the joint of the main/auxiliary door cover, fix it with glue and gun nails, and leave the door leaf position. Gun nails can be driven in the grooves of the mute strips; wooden strips are often used as temporary support in the height and width directions of the door frame to prevent the door frame from deforming due to the expansion of the styrofoam.
5. Install the door leaf After the styrofoam solidifies, install the door leaf. (1) Fix the mother and child hinges on the door leaf according to the opening direction of the door leaf. The outermost hinge is 150mm away from the edge, and the second hinge is 384mm away from the first; (2) The door leaf is installed on the main door cover plate, adjust Door gap size: upper door gap 3mm, lower door gap 7mm, left/right door gap 3mm.
6. Install wood-plastic door hardware accessories.
(1) Confirm that all hardware accessories are clean, put the accessories into the door leaf and the cover plate so that the handle does not sag or loosen;
(2) Install hidden ground suction, and confirm that the position of the door leaf and the ground suction are correct;
(3) After all the installation work is completed, switch debugging is required to ensure the smooth use of the door switch and hardware accessories.
7. Clean up. Clean up the traces of installation, and let the wood-plastic door face users with a new look.


